Measure first
Confirm area, site condition, and scope.
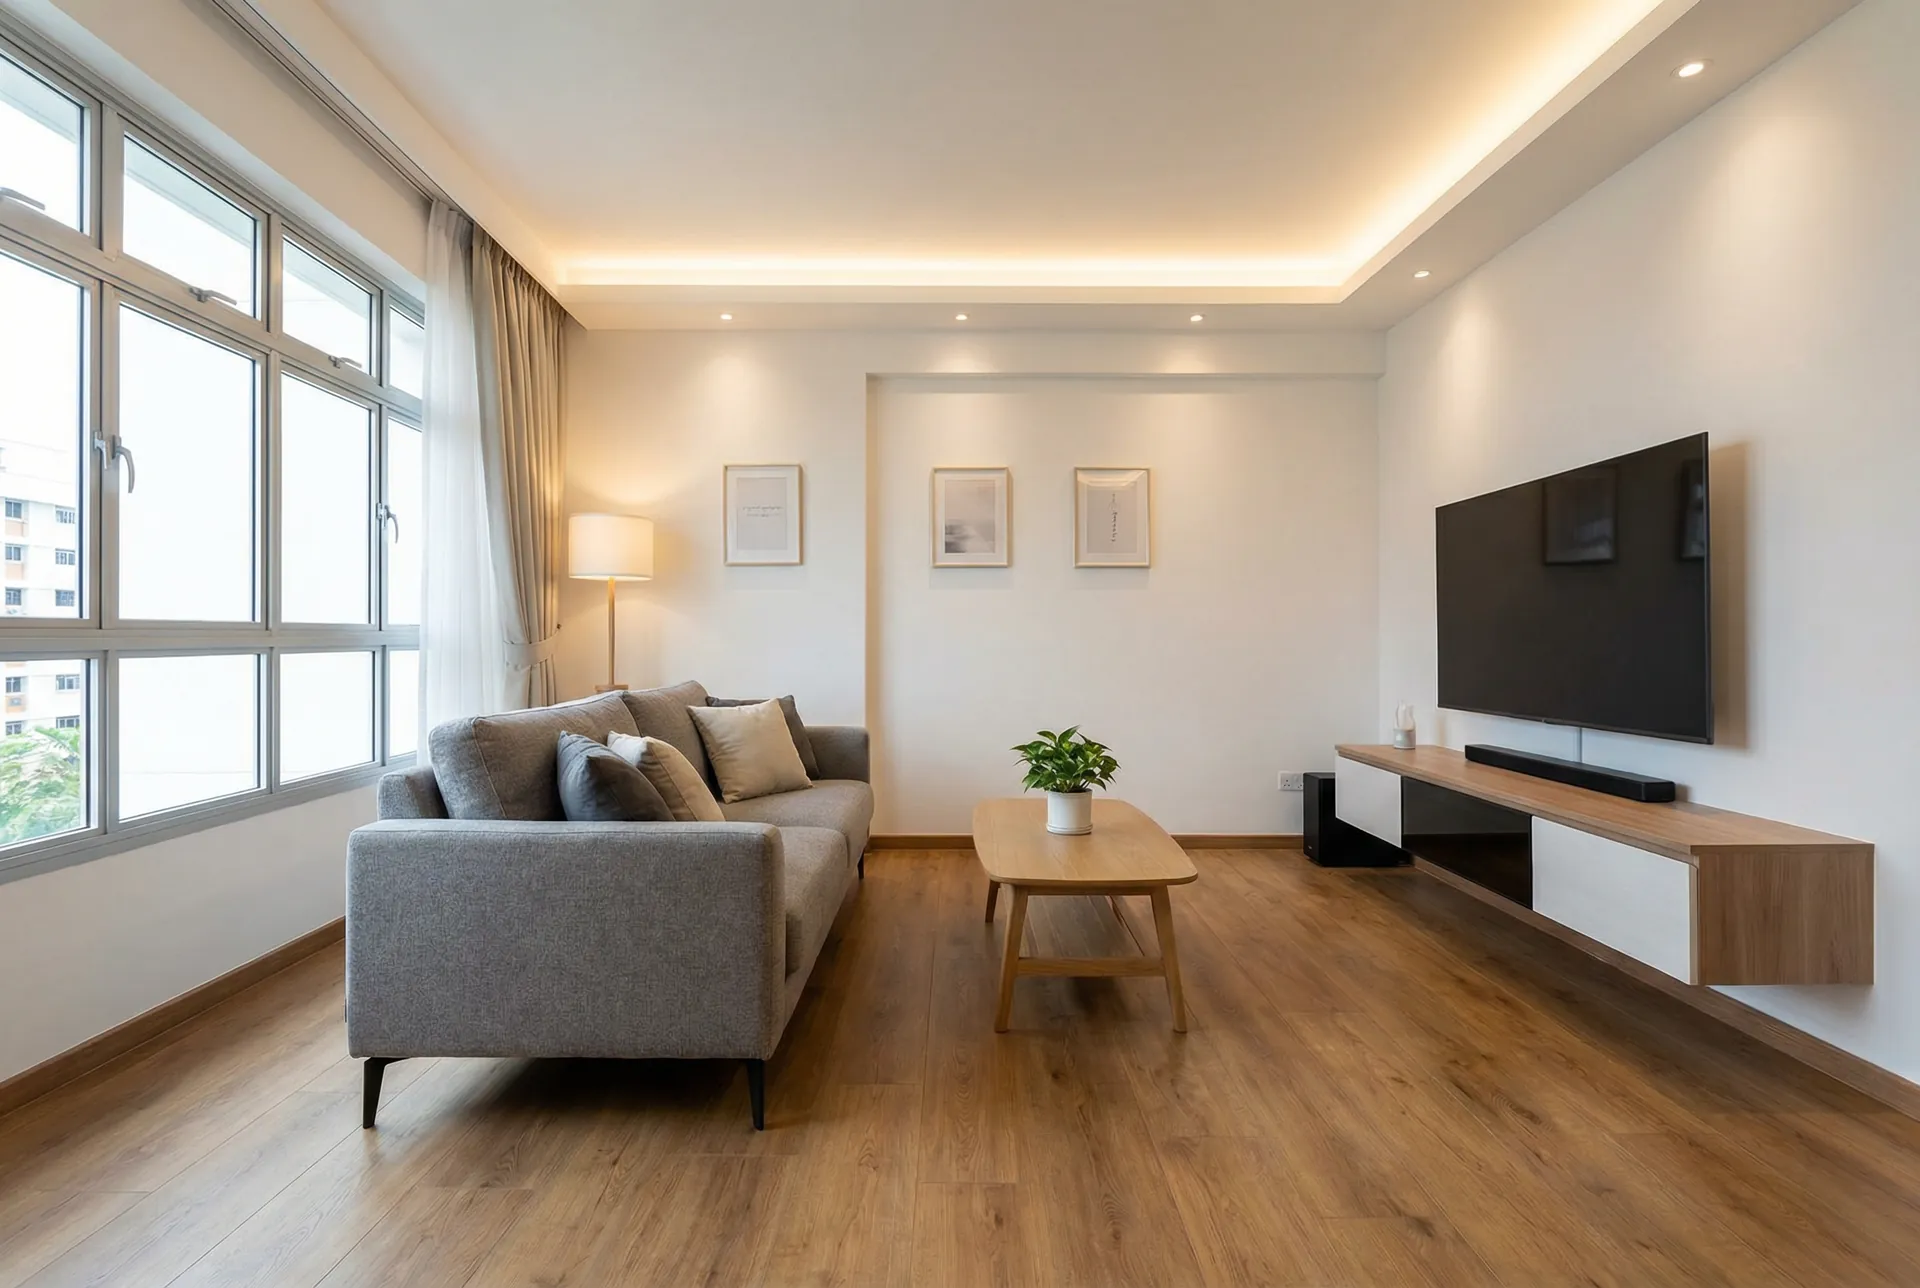
This is the workflow page for serious buyers. It shows how measurement, specification, scheduling, installation, and handover fit together before you move the enquiry forward.
Confirm area, site condition, and scope.
Lock in thickness, accessories, and trims.
Align with access windows and renovation timing.
Confirm finishing, levelling, and warranty.
Many flooring quotes look cheap until the workflow gets vague. Putting measurement, specification, scheduling, installation, and handover on one page makes it easier to judge whether a company explains the scope clearly and whether two quotes are really comparable.
Confirm area, floor condition, and access limits.
Thickness, wear layer, accessories, and trims are confirmed together.
Align with HDB, condo, or commercial access windows.
Confirm finishing, levelling, and warranty after completion.
If you already have a floor plan, room type, expected move-in date, or know whether the old flooring stays, measurement becomes faster and the quotation becomes more accurate.
If you are unsure which material to choose, share the room type and budget first. The team can then shortlist the right options based on site conditions.
Seeing samples before measuring is often the fastest decision path. Buyers can compare colour, feel, and finish first, then let the team shape the quote and installation plan around the real space.
When the workflow starts with measurement, the quote is no longer based on guesswork. Buyers can see what is included in the material, accessories, finishing, installation, and handover, and compare suppliers on the same scope.
This page gives buyers one place to check the measurement, specification, scheduling, installation, and handover workflow before they approve the job. That makes the quote easier to compare and the next step easier to trust.
This section keeps the comparison short so buyers can judge the right floor for their room, budget, and timing faster.
| Option | Best fit | Budget | Upkeep |
|---|---|---|---|
| SPC flooring Singapore | Best for waterproof, family-friendly, and faster-renovation projects. | Usually the most practical all-round choice. | Easy to maintain in Singapore homes. |
| Vinyl flooring Singapore | Good for softer feel and lighter-budget rooms. | A common step-down from premium SPC. | Simple to clean and compare. |
| Engineered wood | For warmer looks and premium-feel spaces. | Usually the highest finish level. | Needs a little more care than SPC. |
Enoch Flooring starts with free measurement, then narrows the shortlist by room type, space, and budget before moving into a proper quotation.
For most buyers, the most useful thing is not a pile of jargon, but one team that handles the recommendation, the quotation, the installation, and the handover.
Enoch Flooring regularly serves Singapore. Whether you are comparing an HDB flat, a BTO unit, a condo, or a light commercial project, the recommendation is always based on the actual site conditions.
If your project is in another part of Singapore, you can still contact us for a first-pass assessment before arranging a measurement.
When buyers compare installation process Singapore, they rarely stop at the lowest price. They first ask whether the option fits the room, the budget, and the move-in timing. For buyers who want a clear workflow before confirming a quote, the practical goal is to narrow the shortlist from “looks good” to “actually suitable.”
When you compare installation process Singapore, the useful first step is to check fit, budget, and timing before you focus on the lowest number.
That is why room type, site condition, warranty, and installation timing should be reviewed together. Looking only at price makes the quote seem simple, but the hidden problems usually show up later as scope gaps, timeline confusion, or missing site details.
The final price is usually shaped by more than one number: material specification, installation method, edge finishing, removal of old flooring, and whether the subfloor needs levelling.
If the project is in Singapore, the team also considers access timing, measurement scheduling, and site logistics. In short, the clearer the quotation, the easier it is for the buyer to judge whether the budget is complete.
A good quote is not just a single total. It tells the buyer exactly what is included in the material, the installation, the handover, and the after-sales support, so every option is compared on the same scope.
A good quote should make the decision easier, not more confusing.
The fastest way to decide is to choose your priority first: durability, budget, or visual finish. Once that is clear, both material selection and quotation scope narrow immediately.
For most Singapore homes, the usual sequence is to satisfy the property requirement first, then the budget range, and only after that decide whether a more premium finish is worth it.
Compare fit first, then budget, then appearance. That is the fastest way to decide.
The more complete the information, the more accurate the quotation. At minimum, prepare the unit type, approximate floor area, existing floor condition, desired completion timing, and your preferred style or colour.
If you already have photos, a floor plan, or know whether the old flooring will stay, send those too. That helps the team judge whether removal, levelling, or extra finishing is required.
The more complete the information, the less back-and-forth you need later.
If you do not want to keep coordinating between measurement, quotation, ordering, and installation, the easiest option is to let one team handle the whole chain. Enoch Flooring is designed around that idea.
The benefit is simple: what was agreed upfront is easier to deliver later, and the buyer always knows what the next step should be.